

In most professional situations, few things are as frustrating as plugging in your golf cart after a long day, only to return the next morning to a completely dead battery pack. When a golf cart charger fails to engage, clicks repeatedly without pushing amperage, or flashes an unreadable sequence of error lights, fleet managers and private owners alike often jump to the wrong conclusion. They assume the batteries are ruined or the charger is permanently fried. From our experience as an enterprise-level adjustable power supply manufacturer and battery technology developer at OHRIJA, the reality is often much simpler—and much cheaper to fix.
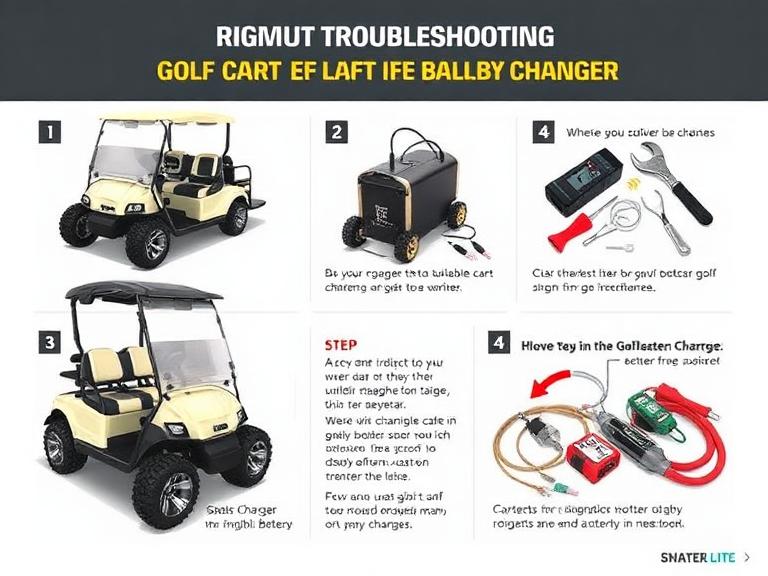
Troubleshooting golf cart battery charger problems is an exercise in basic electrical deduction. A charger is simply a device designed to convert AC wall power into regulated DC power that safely replenishes your battery bank. When this process breaks down, you must systematically rule out the AC power source, the internal charger components, the cart’s onboard safety interlocks, and the battery pack’s resting voltage. We recommend following a strict diagnostic hierarchy before you spend hundreds of dollars replacing components.
Quick Answer: Why Won’t My Golf Cart Charger Work?
If your golf cart battery charger clicks but does not charge, or refuses to turn on entirely, the most common culprit is a low battery voltage lockout. Modern smart chargers require a minimum voltage threshold to detect the battery pack and initiate a charge cycle. For example, a 48V charger generally requires the batteries to hold at least 35 to 42 volts to trigger the relay.
If your pack voltage is adequate, the failure is usually traced to a blown 60-amp DC receptacle fuse, a failed On-Board Computer (OBC) in Club Car models, or a degraded internal charger relay. To fix this, you must measure the total pack voltage with a multimeter, bypass the OBC if necessary, or manually charge individual batteries to wake up the main charger.
Table of Contents
- What is a Golf Cart Battery Charger and How it Works
- The 6 Steps to Troubleshoot Golf Cart Battery Charger Problems
- Benefits and Limitations of Smart vs. Legacy Chargers
- Who Should Troubleshoot vs. Who Should Replace
- Common Troubleshooting Mistakes to Avoid
- Buying Considerations for a Replacement Charger
- Expert Recommendation from OHRIJA
- Frequently Asked Questions (FAQ)
- References & Industry Standards
What is a Golf Cart Battery Charger and How it Works
A golf cart battery charger bridges the gap between your standard 120V or 240V AC wall outlet and your vehicle’s high-capacity DC battery bank. Legacy chargers (often called heavy iron or ferroresonant chargers) use massive internal copper transformers to step down the AC voltage, and large diodes to rectify that current into DC voltage. These older units are incredibly heavy, notoriously inefficient, and generate massive amounts of heat. They rely on the physical resistance of the batteries to dictate the flow of amperage.
Conversely, modern High-Frequency (HF) smart chargers—like those engineered by OHRIJA—utilize advanced microprocessors to manage the charge profile. These smart chargers continuously monitor voltage, internal resistance, and ambient temperature. They apply a multi-stage charging algorithm (Bulk, Absorption, Float) to ensure lead-acid plates do not sulfate and lithium-ion cells remain perfectly balanced. Because they are controlled by software rather than raw physical resistance, smart chargers feature safety lockouts that prevent them from pushing power into a deeply discharged, shorted, or incorrectly wired battery pack.
The 6 Steps to Troubleshoot Golf Cart Battery Charger Problems
In our testing, following these six sequential steps will identify 95% of all golf cart charging failures. Before beginning, ensure the cart is in “Tow/Maintenance” mode, and always wear insulated safety gloves and ANSI-approved safety glasses when probing high-amperage battery banks.
Step 1: Verify Wall Outlet & AC Power Supply Integrity
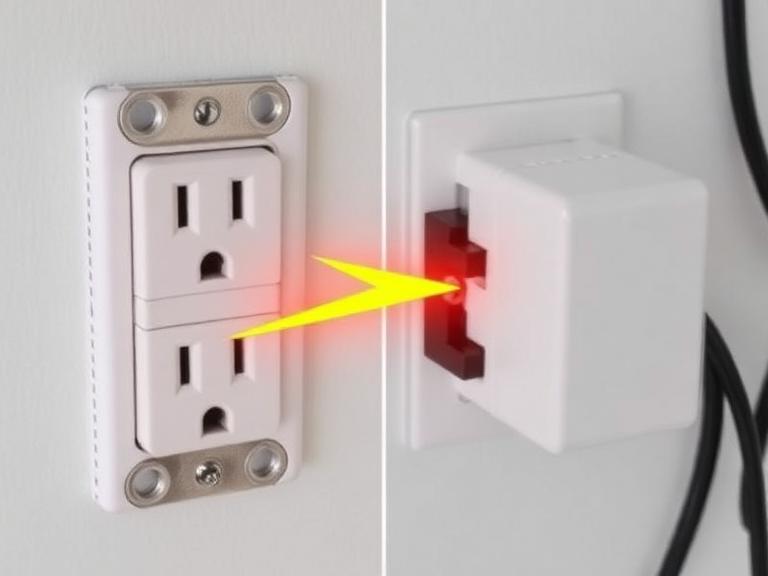
Never assume the wall outlet is providing adequate power. A charger attempting to pull 15 amps can easily trip a weak garage GFCI breaker or melt a sub-standard extension cord. Plug a heavy-duty shop light or a multimeter into the exact wall socket your charger uses. If you are reading below 110V AC under load, your charger’s internal safety relays will refuse to close. Furthermore, inspect the AC input cord on the charger for internal breaks, especially near the molded plug base where stress fractures frequently occur.
Step 2: Test Pack Voltage Threshold & Check for Deep Discharge
This is the most critical step. As mentioned, an automatic golf cart charger must sense a minimum threshold voltage to turn on. If your cart sat in a shed all winter, a 48V pack might drop to 20V. When you plug the charger in, the internal microprocessor assumes the DC cord is disconnected and aborts the cycle.
Set your digital multimeter to DC Volts. Place the red probe on the main positive terminal of the entire battery pack, and the black probe on the main negative terminal. If your 48V pack reads below 36V, or your 36V pack reads below 25V, the charger is actively locking you out. To resolve this, you must “wake up” the batteries. You can use a standard 12V automotive charger to charge each battery individually for 30 minutes, or utilize an AC to DC power supply 24V 15A to push baseline voltage back into the pack until the total voltage climbs high enough for the smart charger to recognize it and take over.
Step 3: Inspect DC Receptacle, Charger Plug Pins & Fuses
The connection between the charger handle and the cart receptacle is subjected to constant friction, arcing, and moisture. Inspect the metal pins inside both ends. If they are black, pitted, or melted, the resulting electrical resistance will prevent charging. Additionally, almost all modern golf carts feature an inline safety fuse near the receptacle. EZGO models typically feature a clear 60-amp slow-blow fuse behind a plastic cover on the receptacle itself. Club Car Precedent models feature an inline fuse on the gray sense wire. Use your multimeter’s continuity setting to verify these fuses have not blown.
Step 4: Evaluate the On-Board Computer (OBC) or Controller Interlock
If you own a Club Car manufactured between 1995 and 2014, your vehicle features an On-Board Computer (OBC). This aluminum box was designed to act as the gatekeeper for charging telemetry. When the OBC fails, it refuses to close the negative charging circuit, meaning the charger will click, but zero amps will flow.
If you have upgraded to a modern aftermarket smart charger, you must perform an OBC bypass. This involves cutting the heavy 10-gauge black wire from the back of the charging receptacle and routing it directly to the main negative post of the battery pack. Furthermore, to disable the charger interlock (which prevents the cart from driving while plugged in), you must locate the 6-pin OBC harness, cut the blue and white wires, and splice them together on the cart side of the harness. This restores a clean 48V circuit and allows standard chargers to operate without OBC interference.
Step 5: Diagnose Internal Charger Components
If the pack voltage is perfect, the fuses are intact, and the OBC is bypassed, the fault lies inside the charger chassis. Caution: Unplug the charger from both the wall and the cart, and allow internal capacitors to discharge for 15 minutes before opening the case.
Older transformer-based chargers rely on simple components: a primary relay, a transformer, a rectifier (diode bridge), and an internal DC fuse. If the charger hums loudly but the ammeter reads zero, the internal rectifier has likely failed, converting AC power directly into waste heat instead of DC current. If the charger is completely dead and emits no click, the primary relay or the internal control board is compromised. For modern sealed smart chargers, internal component repair is rarely viable due to potted circuit boards; full unit replacement is the standard industrial protocol.
Step 6: Verify Charging Profile & Battery Compatibility
With the rise of lithium conversions, mismatched charging profiles are causing widespread failures. You cannot charge a modern Lithium Iron Phosphate (LiFePO4) battery pack with an ancient ferroresonant lead-acid charger. Lead-acid chargers push equalization phases that spike voltages to levels that will trigger a lithium Battery Management System (BMS) to permanently shut down to prevent thermal runaway.
If you have upgraded your cart’s power source, you must upgrade to the best lithium iron phosphate battery chargers available. A proper lithium charger applies a precise CC/CV (Constant Current / Constant Voltage) curve and features a zero-volt wake-up function to automatically reset a tripped BMS.
Benefits and Limitations of Smart vs. Legacy Chargers
When troubleshooting leads to a dead unit, you face a choice: rebuild the old legacy charger or upgrade to a modern smart charger. We strongly recommend upgrading in most professional situations.
| Approach | Benefits (Pros) | Limitations (Cons) |
|---|---|---|
| Repairing Legacy Iron Charger | Keeps original OEM equipment intact. Relays and diodes are cheap to buy ($20-$50). | Extremely heavy (40+ lbs). Highly inefficient (wastes power as heat). Will boil dry lead-acid batteries if timer fails. |
| Upgrading to Smart HF Charger | Lightweight and portable (under 10 lbs). Multi-stage algorithms prolong battery life. Auto-shutoff prevents overcharging. | Higher initial replacement cost. May require an OBC bypass on older Club Cars. |
Who Should Troubleshoot vs. Who Should Replace
For DIYers and Hobbyists: If you own a multimeter and understand basic DC series wiring, executing steps 1 through 4 is highly worthwhile. Diagnosing a blown $5 receptacle fuse or a dirty terminal connection can save you hundreds of dollars in unnecessary replacement costs.
For Commercial Users: Golf course fleet managers, security patrols, and industrial warehouse operators should not waste labor hours rebuilding 20-year-old ferroresonant chargers. The risk of a rebuilt charger’s timer failing and boiling a $1,200 battery pack dry over a weekend is too high. Commercial applications require the reliability of new, sealed, microprocessor-controlled units. If you manage mixed fleets of carts, utility vehicles, and smaller mobility devices, standardizing your charging hardware with units like the best mobility scooter battery chargers and golf cart equivalents from a single manufacturer streamlines maintenance.
Who Does Not Need to Troubleshoot: If your charger has suffered obvious catastrophic damage—such as lightning strikes, being submerged in floodwater, or emitting thick acrid smoke—do not attempt to troubleshoot or repair it. The internal circuitry is compromised, posing a severe fire hazard. Replace it immediately.
Common Troubleshooting Mistakes to Avoid
The most expensive mistake we see consumers make is buying a brand new set of batteries when their cart refuses to charge, only to realize the new batteries won’t charge either because the actual problem was a broken wire inside the DC charge handle. Always prove the battery is at fault via load testing before replacing it.
Another dangerous mistake is attempting to bypass internal charger relays permanently to force a dead charger to run. This removes the thermal protections and timer shut-offs, creating a massive risk of hydrogen gas explosion inside your garage.
Buying Considerations for a Replacement Charger
If your diagnostics confirm your charger is dead, upgrading to modern technology is the logical next step. Similar to selecting the best 48V eBike battery chargers for high-performance two-wheelers, buying a golf cart charger requires matching exact specifications.
| Feature to Verify | Why it Matters | OHRIJA Standard Recommendation |
|---|---|---|
| Voltage Match | A 36V charger will not charge a 48V pack, and vice versa. Connecting the wrong voltage will destroy the BMS or the batteries. | Verify total pack voltage prior to purchase (count the cells). |
| Amperage Output | Dictates charging speed. A 5-amp charger will take 24 hours to charge a large cart pack, which is unacceptable for daily use. | 15A to 20A output for standard 48V golf cart packs. |
| Chemistry Algorithm | Lead-Acid profiles utilize float charging. Lithium profiles utilize hard CC/CV cutoffs. Mixing them causes premature battery death. | Select a charger hard-coded for your specific chemistry, or a smart charger with selectable profiles. |
| IP Waterproof Rating | Golf carts are often charged in open carports or damp environments. Dust and moisture destroy unsealed circuit boards. | Look for IP65 or IP67 sealed aluminum housings. |
Expert Recommendation from OHRIJA
When our enterprise clients ask us how to resolve persistent charging headaches across diverse fleets, our recommendation is absolute: strip out legacy iron-core chargers and obsolete On-Board Computers. In most professional situations, the complexity of 1990s charging telemetry is a liability.
We recommend upgrading to a sealed, high-frequency smart charger engineered specifically for your battery chemistry. At OHRIJA, we specialize in high-tech power conversion. Whether you need a heavy-duty golf cart charger, the best 12V LiFePO4 battery chargers 2026 for auxiliary lighting packs, or a rapid 48V 10A eBike charger, relying on advanced microprocessor management ensures your batteries receive optimal conditioning without the risk of overcharging.
Frequently Asked Questions (FAQ)
Why does my golf cart charger click but not charge?
The clicking sound is the internal relay attempting to close the circuit to begin charging. However, if the charger’s microprocessor detects that the battery pack voltage is too low (e.g., below 36V on a 48V system), or it senses a massive spike in resistance due to a blown fuse or corroded terminal, it will immediately abort the cycle to prevent damage, causing the relay to click back open.
Can I use an automotive battery charger to charge my golf cart?
You cannot use a standard 12V automotive charger to charge an entire 36V or 48V golf cart battery pack simultaneously. However, you can use a 12V charger to charge each battery individually (if you have 12V batteries in series) or paired batteries (if you have 6V batteries) for short 30-minute intervals to raise the overall pack voltage high enough to wake up the main golf cart charger.
How do I know if my Club Car OBC is bad?
If your battery pack is above 35 volts, your fuses are intact, and the charger refuses to engage or pushes zero amps, the On-Board Computer (OBC) has likely failed and is blocking the negative charging circuit. You can verify this by performing a temporary OBC bypass to see if the charger kicks on. If it does, the OBC must be permanently bypassed or replaced.
References & Industry Standards
- Battery Council International (BCI) – Standards for lead-acid and lithium battery voltage thresholds and charging profiles.
- Occupational Safety and Health Administration (OSHA) – Workplace safety guidelines for handling high-amperage DC battery banks and electrical testing.
- Underwriters Laboratories (UL) – Safety certification standards for high-frequency battery chargers and internal thermal protections.