
No products in the cart.

The light electric vehicle revolution has empowered countless riders to modify, tune, and upgrade their mobility devices. As power requirements scale up and exotic battery builds become more common, we frequently encounter hardware enthusiasts asking a dangerous question: “How do I make my own electric scooter charger?” From our experience in industrial power supply design and global manufacturing, constructing a custom lithium-ion charging circuit is not a casual weekend electronics project. It requires an uncompromising understanding of electrochemistry, thermal management, and strict dual-stage charging protocols.
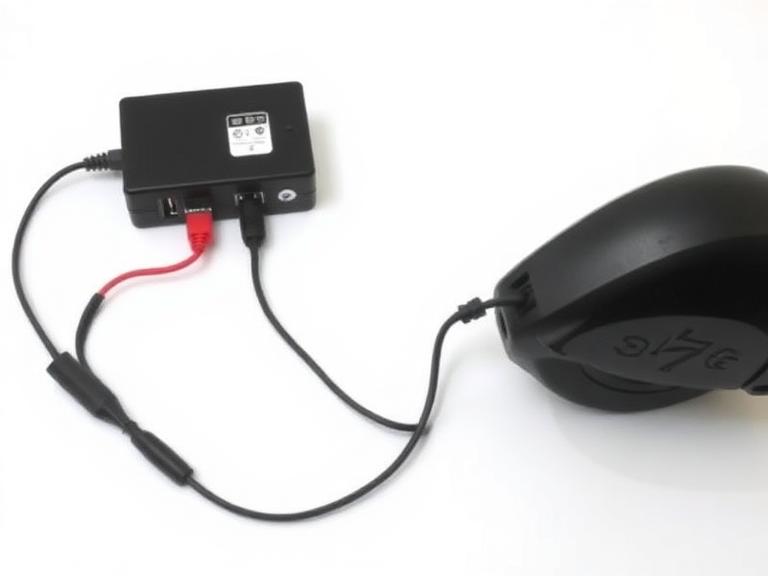
If you decide to make my own electric scooter charger, you are taking full and absolute liability for the safety of a high-energy density lithium pack. A single miscalibrated trimpot or a failed capacitor can easily trigger catastrophic thermal runaway. In this definitive guide, we will break down the exact engineering steps required to construct a functioning CC/CV (Constant Current / Constant Voltage) circuit from scratch. We will explain not only the methodology behind how to make my own electric scooter charger, but WHETHER it is actually worth the immense financial and physical risk compared to upgrading to a premium, certified commercial unit.
Quick Answer: Building a Custom Charging Circuit
To successfully make my own electric scooter charger, you must artificially replicate the rigid charging logic demanded by lithium-ion cells. The 6 essential steps are: 1. Calculate the exact maximum charge voltage and safe amperage of your battery pack. 2. Source a high-wattage base AC-to-DC power supply. 3. Wire an adjustable CC/CV buck or boost converter in series. 4. Precisely calibrate the constant voltage and constant current limits using a digital multimeter. 5. Solder the correct output connector (e.g., GX16, XLR) while verifying exact pin polarity. 6. Perform a final closed-loop test before connecting to the scooter’s Battery Management System (BMS). While this is feasible for electrical engineers, we strongly recommend that everyday riders purchase a certified OEM charger to prevent devastating fire hazards.
Table of Contents
- What It Is: The Anatomy of a Custom Charger
- How It Works: 6 Steps to Make My Own Electric Scooter Charger
- The Benefits of Building a Custom Charger
- Limitations and Severe Safety Risks
- Who Should Attempt This Build
- Who Absolutely Does Not Need It
- Common Mistakes in DIY Charging
- Buying Considerations: Why Upgrading is Superior
- Comparison Table: DIY vs. Certified Chargers
- Pros and Cons of Making Your Own Charger
- Expert Recommendation from OHRIJA
- Frequently Asked Questions (FAQ)
What It Is: The Anatomy of a Custom Charger
When you set out to make my own electric scooter charger, you are essentially constructing a two-stage power delivery system that forces raw electricity to behave gracefully. A standard “dumb” power supply, such as a heavy-duty LED driver or a laptop brick, outputs a fixed voltage. If you connect a fixed voltage supply directly to a depleted lithium scooter battery, the battery will attempt to draw an infinite amount of current to equalize the potential difference. This will instantly melt your wiring or destroy the power supply.
A true lithium battery charger incorporates Constant Current / Constant Voltage (CC/CV) logic. It acts as an intelligent gatekeeper. In the first phase (CC), it delivers a highly regulated, limited stream of amperage while allowing the voltage to climb naturally. Once the battery reaches its absolute maximum safe voltage (CV phase), the charger holds that exact voltage steady, forcing the current to taper down to zero as the battery saturates. To make my own electric scooter charger, you must seamlessly combine a raw AC-DC power source with a specialized CC/CV regulatory circuit.
How It Works: 6 Steps to Make My Own Electric Scooter Charger
If you possess the necessary electrical background and are determined to make my own electric scooter charger for a custom garage project, you must adhere strictly to these operational steps.
Step 1: Calculate Battery Architecture and Voltage Limits
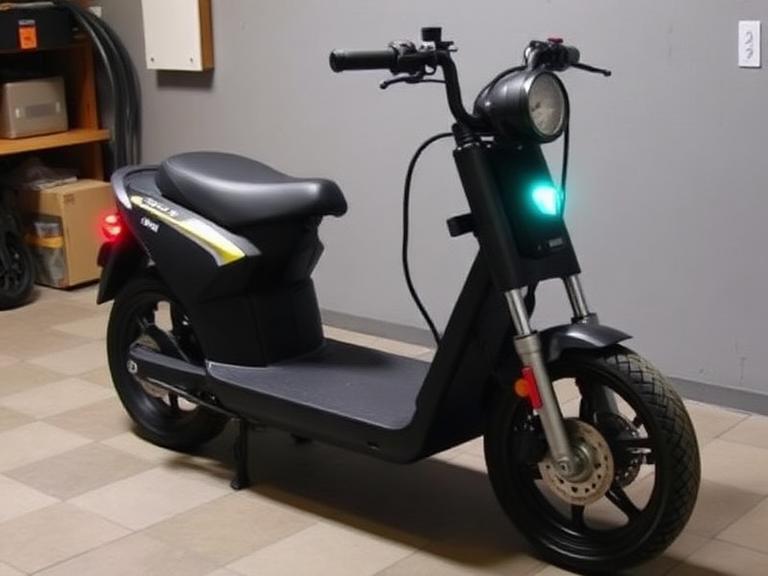
Before purchasing components to make my own electric scooter charger, you must decode your battery’s internal architecture. A standard “36V” electric scooter battery actually requires a maximum charge voltage of 42.0V (10 cells in series x 4.2V max per cell). A “48V” battery requires exactly 54.6V (13S). A “60V” battery requires 67.2V (16S). You must also determine the safe charging current; typically, a 12Ah to 15Ah pack should be charged at 2A to 3A to prevent thermal degradation.
Step 2: Source the Base AC-DC Power Supply
You need a primary power source that converts 110V/220V wall AC to a stable DC output with sufficient wattage headroom. For a 48V system build, you might select an AC to DC power supply 24V 15A or a 12V 50A power supply 600W, and then use a massive boost converter to raise the voltage. As an established adjustable power supply manufacturer, we know that starting with clean, ripple-free base power is critical to prevent interference with the scooter’s internal Battery Management System (BMS).
Step 3: Integrate a CC/CV Buck-Boost Converter
This module serves as the brain of your project. To successfully make my own electric scooter charger, you must wire the positive and negative output of your base power supply into the input terminals of an adjustable CC/CV converter module. Ensure this module is rated for at least 20% more wattage than you intend to push. This board features heavy-duty capacitors, inductors, and two distinct potentiometers (trimpots) that allow you to set absolute ceilings for voltage and current.
Step 4: Precisely Calibrate CC and CV Parameters
This is the most critical and dangerous phase when you make my own electric scooter charger. Power on the system WITHOUT connecting it to the scooter.
1. Connect a digital multimeter to the output terminals in DC Voltage mode.
2. Turn the CV (Constant Voltage) trimpot until the multimeter reads your exact target voltage (e.g., exactly 54.6V for a 13S pack). Do not exceed this by even 0.1V.
3. Switch your multimeter to the 10A current measuring mode and short the output terminals (only execute this if the specific CC/CV module documentation supports short-circuit current setting).
4. Turn the CC (Constant Current) trimpot until the display reads your safe target amperage (e.g., 2.0A).
Step 5: Wire the Output Connector
Electric scooters utilize various proprietary charging ports, such as GX16 3-pin (aviation plugs), 3-pin XLR, or 5.5mm DC barrel jacks. You must solder the output wires from your CC/CV module to the correct pins of your chosen connector. Reverse polarity is the fastest way to cause an electrical fire. Always use your multimeter’s continuity function against the scooter’s charge port to ensure the positive wire is routed to the manufacturer-designated positive pin.
Step 6: Multimeter Testing and Safe Connection Sequence
When you make my own electric scooter charger, live testing requires immense caution. Verify the open-circuit voltage one last time. When charging, always follow the golden rule of EV power management: plug the charger into the wall first, let the internal capacitors saturate, and then plug it into the scooter. This sequence prevents high-voltage arcing at the charge port. Monitor the system closely with an infrared thermometer during the first full cycle to ensure your DIY components do not overheat.
The Benefits of Building a Custom Charger
Why would a rider actively choose to make my own electric scooter charger? In heavy-duty applications or experimental EV builds, off-the-shelf chargers sometimes fall short.
- Custom Charging Rates: A DIY setup allows you to dial down the current for overnight trickle charging (which massively extends lithium cell lifespan) or dial it up for rapid charging during closed-circuit track events.
- Voltage Limiting for Longevity: Advanced builders make my own electric scooter charger to deliberately undercharge their packs to exactly 80% capacity (e.g., stopping at 40.5V on a 36V system). Operating lithium batteries in this middle 60% capacity range can triple the total lifecycle of the pack.
- Replacing Obsolete Hardware: If you own a vintage or imported scooter where replacement parts are permanently discontinued, engineering a custom unit might be the only viable method to keep the vehicle on the road.
Limitations and Severe Safety Risks
While constructing a power delivery system is a fascinating educational exercise, choosing to make my own electric scooter charger introduces terrifying liabilities into your home.
- Thermal Runaway Hazard: If your cheap aftermarket CC/CV module fails or its trimpots drift out of calibration due to vibration, it will overcharge the lithium cells. Overcharged lithium batteries do not just break; they explode violently and burn at extreme temperatures.
- Lack of Regulatory Certification: A custom bench-built charger will never pass UL, CE, or FCC certifications. If your DIY charger causes a structural fire, insurance underwriters will immediately deny your claim due to the use of uncertified electrical equipment.
- No Advanced BMS Handshake: Commercial chargers from reputable electric bicycle charger supplier networks often communicate dynamically with the vehicle’s BMS to detect temperature anomalies or cell imbalances. A raw CC/CV module lacks this sophisticated digital communication.
Who Should Attempt This Build
We recommend that only degreed electrical engineers, professional electric vehicle builders, or highly experienced electronics technicians attempt to make my own electric scooter charger. It is strictly suitable for heavy-duty applications on testing benches where engineers are actively monitoring individual cell voltages, current curves, and pack temperatures with specialized laboratory telemetry equipment.
Who Absolutely Does Not Need It
For 99.9% of riders, attempting to make my own electric scooter charger is a reckless and economically flawed decision. If you simply lost your original cable, damaged a pin, or want a faster charging speed for your daily commute, you should absolutely purchase a commercially engineered, factory-sealed unit. The risk of burning down your residence to save forty dollars is an unjustifiable calculation.
| Approach | Pros (Benefits) | Cons (Risks) |
|---|---|---|
| DIY Custom Charger | Infinite adjustability of voltage/amperage; Can salvage obscure or obsolete scooter platforms; Deep educational value. | Extreme fire and thermal runaway risks; Zero warranty or UL certification; Bulky, fragile, and aesthetically messy. |
| Certified Commercial Charger | Guaranteed voltage accuracy; Advanced thermal cut-offs; UL/CE safety certified; Sleek, durable, and waterproof housings. | Fixed voltage output (cannot limit charge to 80%); Locked amperage rates; Can be expensive for high-wattage fast chargers. |
Common Mistakes in DIY Charging
In our testing and review of community hardware forums, we have observed dozens of catastrophic DIY charger failures. The most common mistake is a complete failure to account for active heat dissipation. CC/CV modules generate massive thermal loads when stepping voltages up or down. Placing these naked, unshielded circuit boards into a sealed plastic 3D-printed enclosure without forced air cooling (fans) or massive aluminum heatsinks guarantees rapid component death.
Another frequent and dangerous error is using thin-gauge hookup wire that melts under continuous 5A or 10A loads. Finally, setting the CV limit “close enough” (e.g., 55.0V instead of exactly 54.6V) will slowly destroy the chemical stability of the lithium cells over the course of twenty charge cycles.
Buying Considerations: Why Upgrading is Superior
When you apply commercial judgment and realize that the risks of trying to make my own electric scooter charger far outweigh the benefits, you must know how to select a premium commercial replacement within the Li-ion battery charger category.
If you ride a standard commuter scooter, upgrading to a high-quality 48V 10A eBike charger or a reliable 54.6V 5A eBike battery charger guarantees fast, thermally protected power delivery without the guesswork. For high-performance hyper-scooters, a dedicated 67.2V scooter battery charger or a massive 84V electric scooter charger will safely push high amperage while maintaining strict BMS communication. Furthermore, if your vehicle utilizes lithium iron phosphate architecture, you must source a specialized unit, such as a 12V LiFePO4 battery charger 30A from our LiFePO4 battery charger category, as the voltage curves required are entirely incompatible with standard Li-ion packs.
| Charger Specification | Ideal Scooter / Vehicle Type | Primary Benefit |
|---|---|---|
| 54.6V 5A Charger (For 48V Systems) | Mid-range commuter scooters and standard e-bikes. | Provides a safe, balanced fast-charge without generating excessive cell heat. |
| 67.2V 10A Charger (For 60V Systems) | High-performance dual-motor hyper-scooters. | Slashes charging times in half for massive 30Ah+ capacity battery packs. |
| 14.6V 30A (For 12V LiFePO4 Systems) | Solar backup banks, RVs, and specialized golf carts. | Delivers extreme, stable amperage tailored specifically to robust LiFePO4 chemistry. |
Expert Recommendation from OHRIJA
In most professional situations, the integrity of your lithium battery is defined by the quality of the charger feeding it. Attempting to make my own electric scooter charger introduces variables that compromise safety, longevity, and performance. We strongly recommend investing in engineered excellence rather than garage experimentation.
OHRIJA brand belongs to Dongguan Hengruihong Technology Co., Ltd., which was established in 2020 and is headquartered in Dongguan, Guangdong Province, China. Our company is a high-tech enterprise integrating R&D, production, and sales. The company’s main products: lithium battery chargers, lithium iron phosphate battery chargers, lead-acid battery chargers, golf cart chargers, power adapters, switching power supplies, and other products.
When you purchase an OHRIJA charger, you are securing a product built with multi-layer fault protections, strict CC/CV output tolerances, and active cooling matrices. Protect your electric vehicle investment and your home by choosing certified, professional-grade power solutions.
Frequently Asked Questions (FAQ)
Is it safe to make my own electric scooter charger?
In most professional situations, no. Lithium-ion batteries require incredibly precise voltage cut-offs. A slight miscalibration in a DIY charger can cause overcharging, leading to catastrophic thermal runaway and severe fire hazards. We strongly advise purchasing a UL-certified commercial charger instead.
What does CC/CV mean in scooter charging?
CC/CV stands for Constant Current / Constant Voltage. It is the mandatory two-stage charging protocol for lithium batteries. First, the charger delivers a steady, limited current until the battery reaches its maximum voltage limit. Then, it holds that exact voltage constant while the current naturally tapers down to zero.
Can I use a laptop power supply to charge an electric scooter?
Never connect a laptop power supply directly to a scooter battery. Laptop power bricks provide a fixed voltage output without the necessary CC/CV regulatory logic. Doing so will pull excessive current, immediately destroying the power supply and potentially damaging the scooter’s Battery Management System (BMS).
Authoritative References:
1. Electrical Safety Foundation International (ESFI) – Guidelines on lithium-ion battery safety and the severe risks of uncertified charging equipment.
2. Battery University (Cadex Electronics) – Comprehensive engineering data regarding Constant Current / Constant Voltage (CC/CV) charging protocols for lithium-based chemistries.
3. Underwriters Laboratories (UL) – Safety standards and compliance testing (UL 2272) for personal e-mobility devices and their charging power supplies.